How to Make Coffee in a Percolator
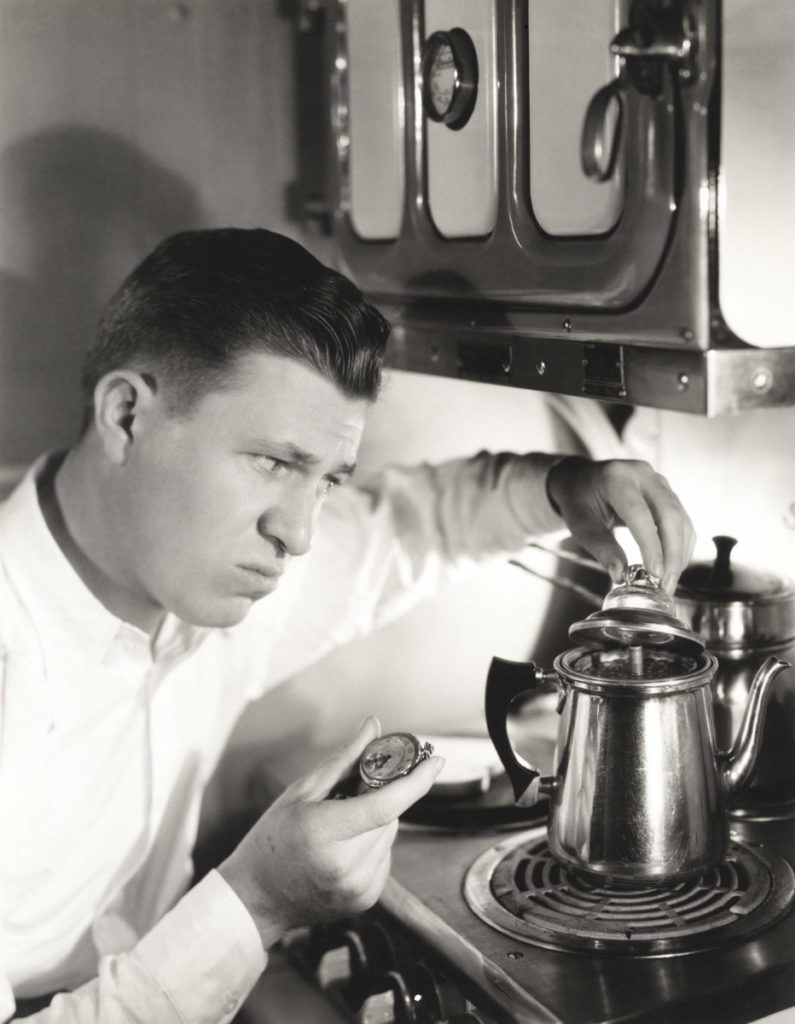
Using a percolator was once the most popular way to brew coffee before automatic machines. It is simple and easy but has fallen out of fashion because there are quicker ways to get your morning cup of joe. But if you want to experience drinking coffee like your great grandparents did, then this article will show you how to make coffee in a percolator!
With the rise in popularity for milky coffees like lattes and cappuccinos, this type of strong coffee is an acquired taste.
It can take a bit of practice to get the technique right using a percolator. You have to keep your eye on it, unlike other coffee makers where you simply hit a button and walk away.
But this process can be sort of a therapeutic morning ritual. It keeps you in the present instead of automatically going through the motions like your automatic coffee machine.
Even though it is seen as old-fashioned, it is definitely making a comeback. As with a lot of retro items, it only takes so long before people realize that it's cool to learn how to make coffee in a percolator.
What is a Stovetop Percolator?
A coffee percolator is a receptacle that looks like a mini teapot. Unlike other coffee-making methods, steam is used to saturate the coffee grounds instead of water. It is also called vacuum brewing because the steam saturates the coffee grounds before filtering.
This happens a number of times during the brewing process which makes the coffee strong and bitter.
Stovetop percolators are particularly convenient for camping, boats, and caravans as it is small and very sturdy, so it is easy to pack and all you need is coffee, heat, and water.
Benefits of Brewing Coffee in a Percolator
Learning how to make coffee in a percolator comes with many benefits, which is why it is making a comeback.
ONE
It’s a nice way to start your day. You can’t walk away and leave it, so you have to wait and keep an eye on it, taking time to ensure the temperature is right.
It forces you to be present and it’s a pleasant morning ritual to get the gears in your brain rolling while watching the water bubble like a babbling brook until it turns a dark brown, and the strong aroma of coffee fills your home.
It is very simple and once you get the hang of it, it is so easy. You don’t need to fumble around with filters or pods, all you need is water, coffee, heat, and your stovetop percolator.
TWO
The coffee percolator is robust. It will last you a considerable amount of time, as it is usually made of steel and its durability makes it perfect for traveling as you don’t have to worry about it breaking.
Some percolators are made of aluminum, but this metal can react with the coffee so a steel percolator is best!
THREE
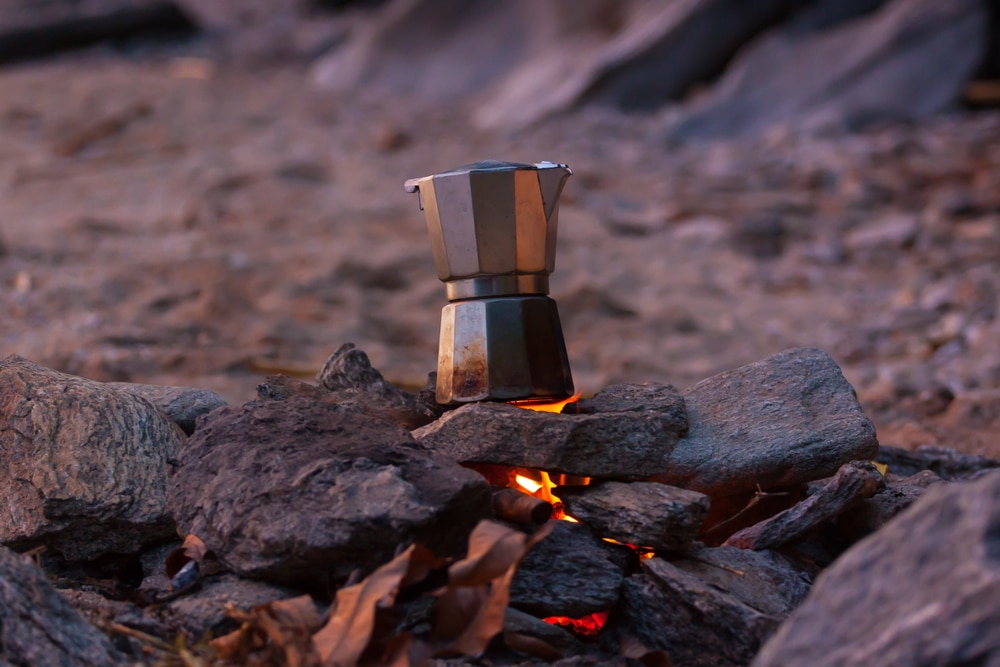
You don’t need electricity. This makes it perfect for those traveling or camping. Simply place the percolator over a fire and let it bubble away.
FOUR
It doesn’t cost much. You can pick up a percolator for less than $20. And because it is such a robust little item, this makes it great value for your money.
- Comes in 5 different sizes and 2 different colors
- Easy to clean
- Very durable
FIVE
The coffee percolator is inexpensive to maintain. Unlike expensive automatic coffee makers, it will not give you any technical difficulties leading to expensive repairs. You do not need to buy expensive pods or anything other than your coffee.
SIX
There are different sizes depending on your needs. They range from smaller ones that are perfect for traveling, caravans, or boats since they don’t take up much space, to larger ones that make 30 cups of coffee for social gatherings. Or coffee addicts who need to drink 30 cups of coffee in the morning…. Just kidding, please don’t drink that much coffee. It’s not good for you!
SEVEN
Stovetop percolators are easy to clean. They don’t need to be descaled, simply wash them after each use and they won’t require any other maintenance.
EIGHT
The coffee from the percolator is hot, as it is brewed by steam. There is nothing worse than a cold cup of coffee, and there is nothing like holding a hot cup of coffee in the morning!
NINE
It’s a strong and rich cup of coffee. So if you only like your coffee with sugar and cream, then this may not be to your taste. But if you like a strong cup then you need to learn how to make coffee in a percolator!
TEN
It’s better for the environment. With more people becoming environmentally conscious, a percolator is a great environmentally friendly option. You don’t need paper filters and it has no plastic. You don’t need to fill it with sachets or pods to be discarded after one use.
ELEVEN
You can control the brewing time. Unlike automatic machines, you can control the temperature and time to ensure you get your coffee just the way you like it. The longer it brews, the stronger it is and after making it several times, you will figure out your preferences.
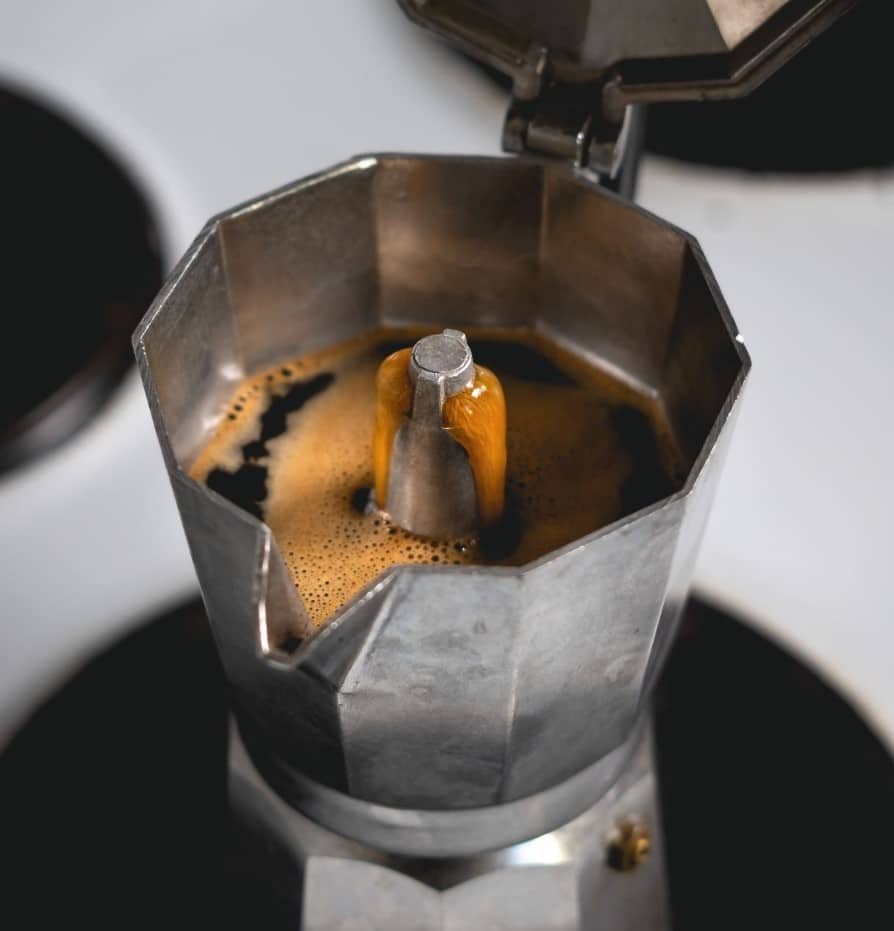
Why is Percolator Coffee so damn bitter?
This is due to a couple of reasons: the high heat and brewing method. The high heat is used to produce steam which is then recycled over the coffee grounds multiple times. The coffee is supersaturated because of the recycled steam, and the high heat brings out metallic flavors.
This is why a coffee percolator is an acquired taste! Not everyone will love it, but it might be perfect for your taste buds and you will never know until you try it at least once.
Learning how to make coffee in a percolator will definitely take practice to get it right but once you do, the outcome is rewarding!
The trick is not to over brew; ideally, the coffee should brew between 7 and 10 minutes. So it will take a few tries for you to find which brewing time suits your taste buds.
Keep in mind that it takes more time than other brewing methods, so if you’re someone who isn’t a morning person, i.e. a zombie, then the coffee percolator is not right for you as the outcome can be unpleasant!
Types of Percolators
The traditional and most popular type of percolator is the stovetop percolator. However, there are other types that might be worth checking out, especially if you want to become a coffee connoisseur!
Stovetop
This percolator is the one you have to always keep your eye on to make sure it doesn’t become bitter. It is the simplest one and can be used for traveling. It has a pot, a basket, a stem, and a lid.
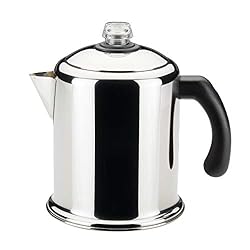
Farberware Stainless Steel Coffee Percolator
- 8 cup capacity
- Features a permanent filter basket
- Dishwasher safe
Pressure
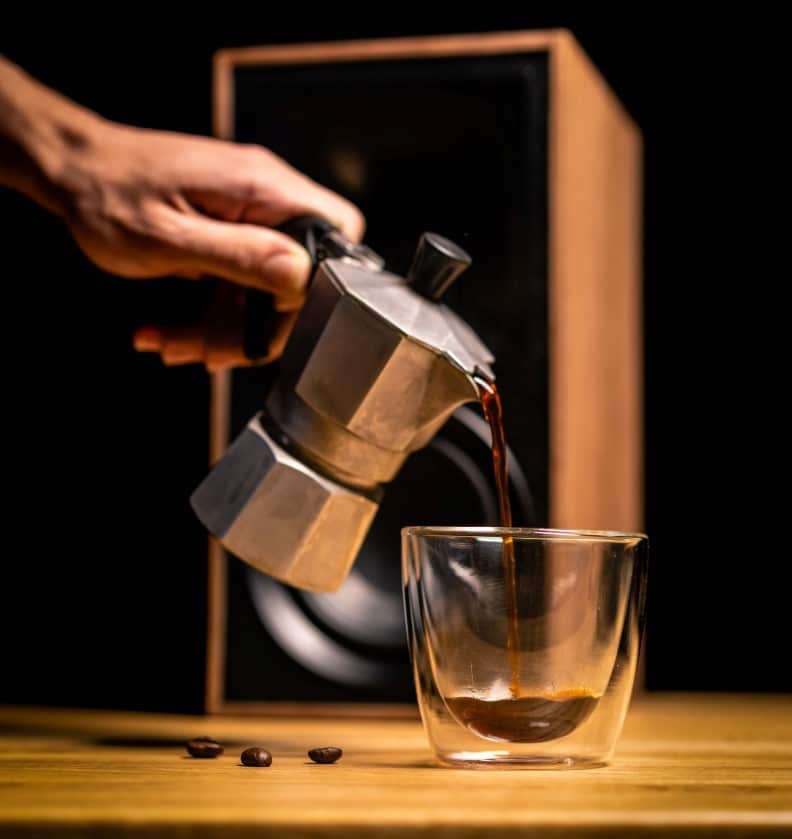
This percolator has three parts; the lower part is for water, the middle part has the grounds, and the top part contains the brewed coffee. Steam uses pressure to push the water to the top part and through the ground coffee. This type of percolator is also called a Moka pot.
The coffee is more concentrated like an espresso which makes it different than the coffee from a stovetop percolator.
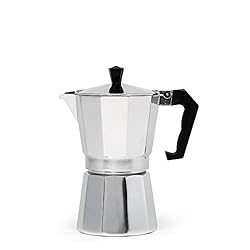
- Comes in 5 different sizes and 2 different colors
- Easy to clean
- Very durable
Electric
This coffee percolator has settings for you to control the time and the best temperature for brewing coffee, making it the most advanced type. You're not required to learn how to make coffee in a percolator when you use it, because everything is pretty much automated.
It will be consistent, and it will keep the coffee warm afterward. Although be careful, the longer you keep it warm, the more bitter it will be just like brewing tea.
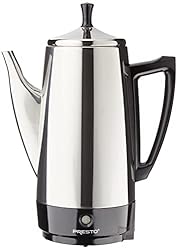
Presto Stainless Steel Coffee Maker
- 12 cup capacity
- Keeps your coffee hot automatically
- Signal light indicates when it's done brewing
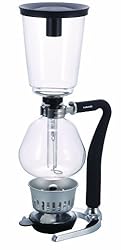
Siphon
This is a vacuum coffee maker, where different temperatures change the vapor pressure of water, which pushes it upwards to the top part. It is a combination of percolation and infusion. These are becoming fashionable as they look pretty cool, like something out of a science lab.
How to Make Coffee in a Percolator
(Step by Step Guide)
This may seem like a lengthy process but once you get used to it, you’ll soon learn how to use a percolator without even thinking.
- Measure your coffee and water - ideally you want to aim for a coffee-to-water ratio of 1:17 or 1oz (30g) of coffee to 17oz (500g) of water.
- Grind the coffee - it is best to use a medium setting on a burr coffee grinder or a manual coffee grinder. Too fine of a setting and your coffee will be bitter with sediment in your cup. Too coarse and you waste the coffee flavor.
- Add the water - make sure the water is cold because the secret to delicious percolator coffee is to slowly heat the water up without boiling it.
- Add the coffee grounds - make sure you don’t make more than what the percolator can handle. Too much ground coffee and it will spillover.
- Heat it up - set it on your stove and heat it slowly, make sure not to boil the water.
- Keep an eye on it - once the water is hot enough, it begins to steam the coffee. This also means that it is about to boil. So you want to maintain the same heat without overheating. The trick is to keep an eye on the bubbles and make sure they are a few seconds apart.
- Set the timer between 7 to 10 minutes - you can change this according to your taste as the longer it brews, the stronger and full-bodied it will be.
- Remove from the heat - be careful not to burn yourself as the vessel will be extremely hot.
- Remove the coffee grounds - the last thing you want is grounds in your freshly brewed coffee.
- Enjoy - you deserve it!
Frequently Asked Questions - FAQs
How long does it take to brew the perfect stovetop percolator?
It will depend on your tastes and it will take a couple of tries until you know what suits you best. Start at 7 minutes then increase the time. The longer it brews, the stronger it will be.
Do you have to use a certain type of coffee for a coffee percolator?
A medium roast is best. A dark roast can be too bitter, sometimes almost giving off a burnt taste, since a coffee percolator already makes bitter coffee. A lighter roast could mean losing the unique flavors.
It is better to use freshly ground beans and for them to be in a medium-coarse setting.
What is the difference between filter coffee and percolator coffee?
There are different subtleties to filter coffee (drip coffee) and it is lighter because water only goes through the coffee grounds once. A filter is needed for this coffee whereas percolator coffee doesn't use one.
Just Like our Great Grandparents, it's Time to Learn How to Make Coffee in a Percolator
It’s true that it is an old-fashioned and traditional way to make coffee, but this doesn't mean that it is bad!
If you love coffee then a percolator is definitely worth a try. It can be an enjoyable process compared to simply hitting a button and letting the machine do it for you. Plus you can’t call yourself an expert if you don't know how to make coffee in a percolator!
